Overclocking might sound like a term used only by computer experts or tech enthusiasts.
But it’s simpler than you might think.
Today, we’ll dive into overclocking your monitor to improve your display’s performance.
Don’t worry; we’ll keep it simple so everyone can follow along!
What is Monitor Overclocking?
Before we get into the how-to, let’s clarify the what.
Overclocking your monitor means pushing it to refresh the images on the screen faster than its factory setting.
For instance, if your monitor has a refresh rate of 60Hz, it could go up to 75Hz or even more after overclocking.
That means smoother, more fluid visuals on your screen, which is especially beneficial for fast-paced video games.
Benefits of Overclocking
- Enhanced Gaming Experience: The main benefit is the smoother gameplay. Higher refresh rates can lead to less motion blur and quicker response times.
- Cost Saving: Instead of buying a new, higher-end monitor, you can get more performance out of your current one.
How to Overclock Your Monitor (Step by Step)
1. Check Your Monitor Specifications
Before you start, you should check your monitor’s specifications to understand its capabilities.
Ensure you know the manufacturer, model number, and default refresh rate.
2. Backup Your System
Always back up your system before making changes.
You can restore your computer to its original state if anything goes wrong.
3. Use Graphics Control Panel
For NVIDIA Users:
- Open NVIDIA Control Panel.
- Click on ‘Change resolution’ under the Display section.
- Click on ‘Customize’.
- Click on ‘Create Custom Resolution’.
- Gradually increase the refresh rate. Start with small increments like 5Hz.
- After setting the new refresh rate, click on ‘Test’.
- If the monitor displays correctly, accept the changes.
For AMD Users:
- Open AMD Radeon Settings.
- Go to the ‘Display’ section.
- Click on ‘Custom Resolutions’.
- Click on ‘New’.
- Gradually increase the refresh rate, starting with small increments like 5Hz.
- Click on ‘Verify’.
- If the monitor displays correctly, accept the changes.
4. Test Your Overclock
Once you’ve successfully increased your monitor’s refresh rate, it’s time to test the stability of your overclock.
You can use our tool to check refresh rate of your monitor quickly.
Risks and Precautions
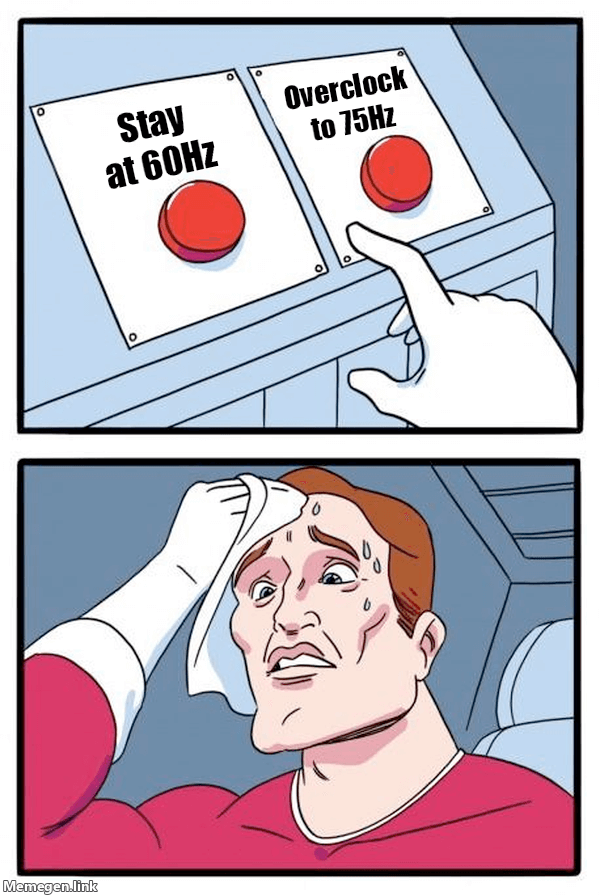
While overclocking can boost your monitor’s performance, it’s not without risks.
It could lead to increased heat output, a shortened lifespan for your monitor, or even permanent damage in rare cases.
Always proceed with caution and monitor for any signs of instability or overheating.
FAQs
Ques 1: Is it safe to overclock my monitor?
Ans: Generally, it’s safe, but it does come with risks, including increased heat and potential damage.
Always overclock in small increments and stop if you notice any issues.
Ques 2: Will overclocking my monitor void my warranty?
Ans: It depends on the manufacturer. Some may void the warranty if damage occurs due to overclocking, while others may not.
It’s best to check with the manufacturer beforehand.
Ques 3: How much can I overclock my monitor?
Ans: The amount varies from monitor to monitor. Some might only get a small increase, while others can see significant improvements.
Start with small increments and keep testing until you find the limit.
Ques 4: Can all monitors be overclocked?
Ans: No, not all monitors can be overclocked. Some monitors, particularly older models, may not have the necessary flexibility in their hardware.
Conclusion
Overclocking your monitor can enhance your visual experience, particularly for gaming.
However, always be mindful of the potential risks involved.
Make sure to overclock responsibly and enjoy your smoother, more responsive display!
External Resources:


